


FFF Button-Stud Watchband (Adjustable Cordovan)
FFF Button-Stud Watchband (Adjustable Cordovan)
Couldn't load pickup availability
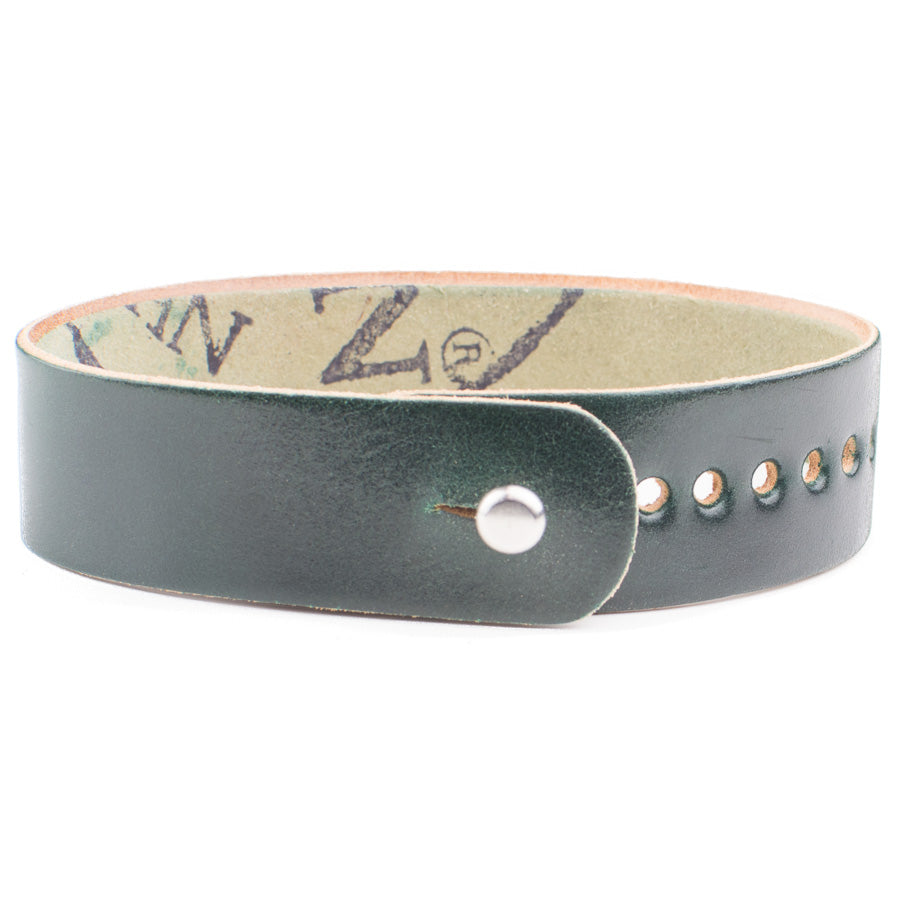
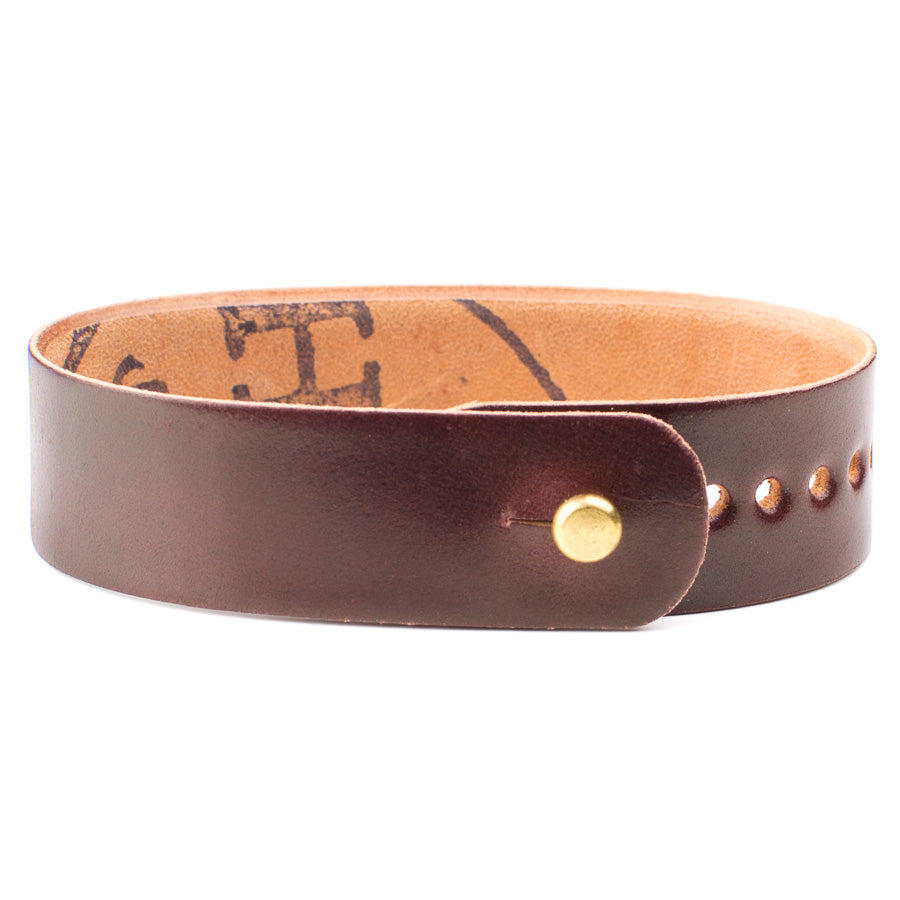
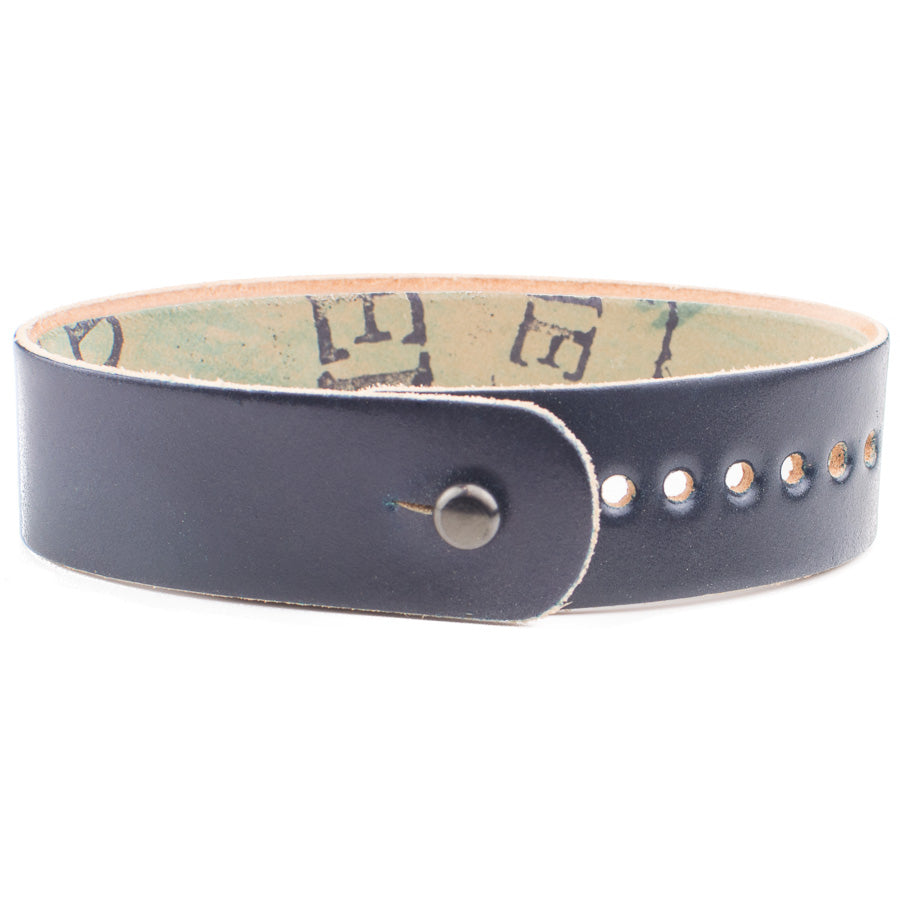
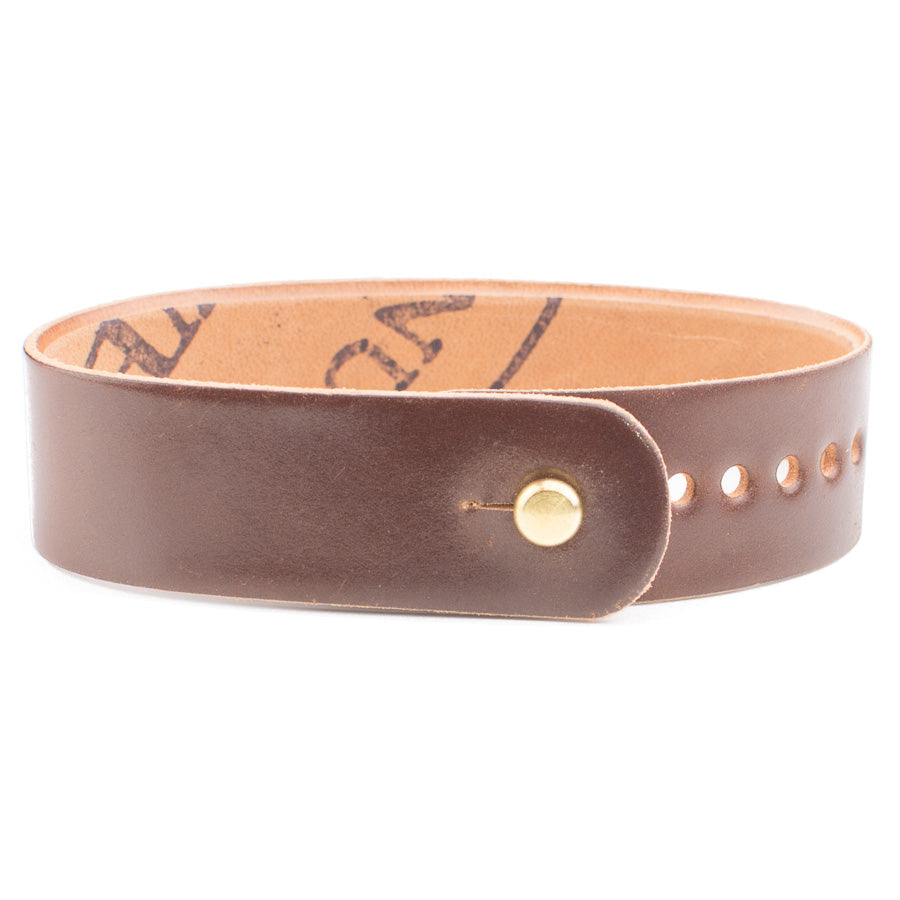
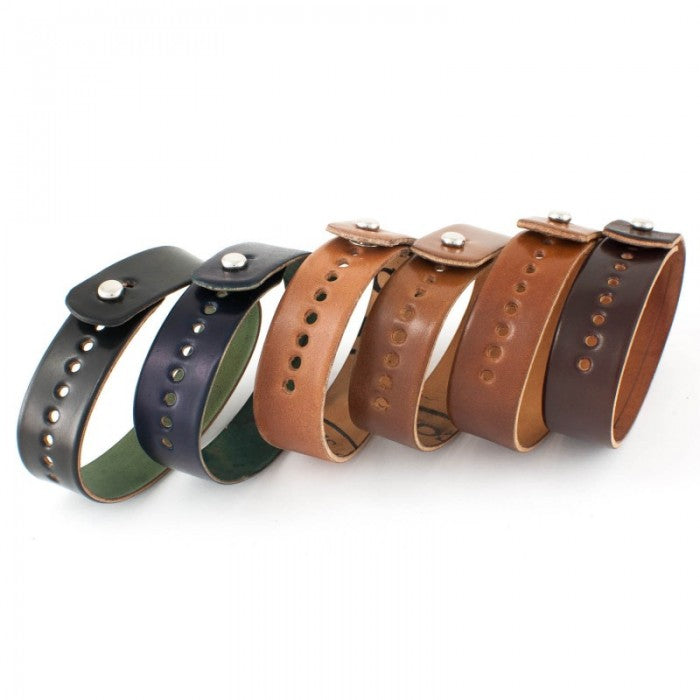
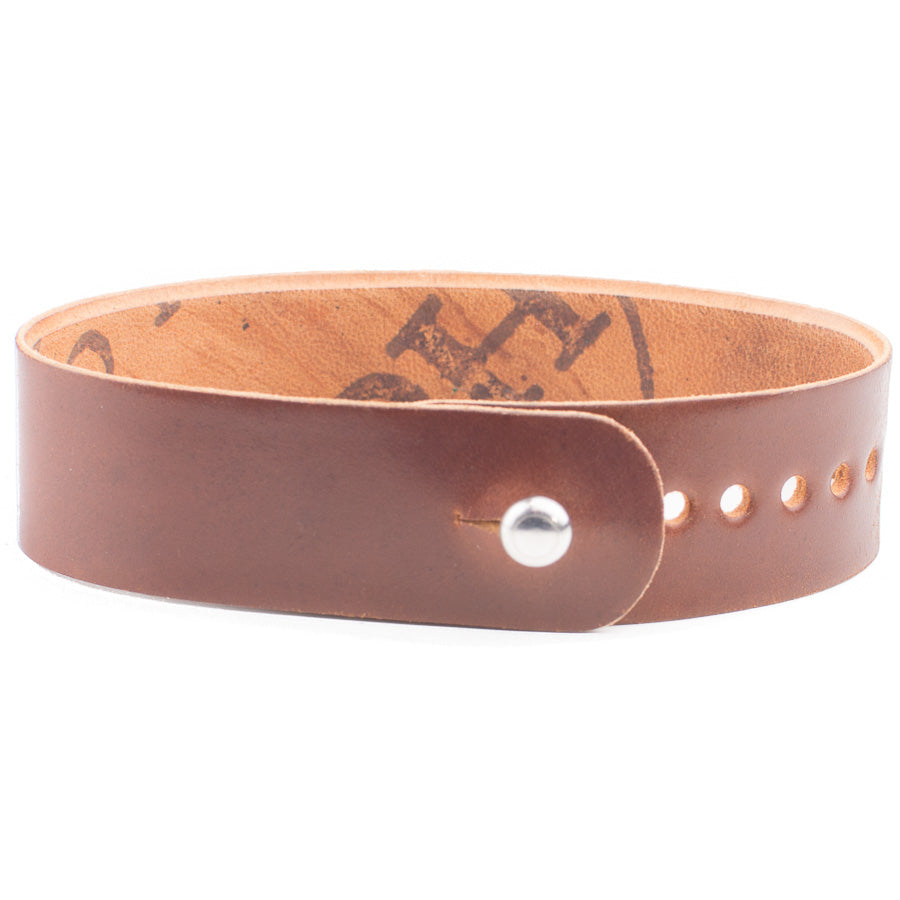
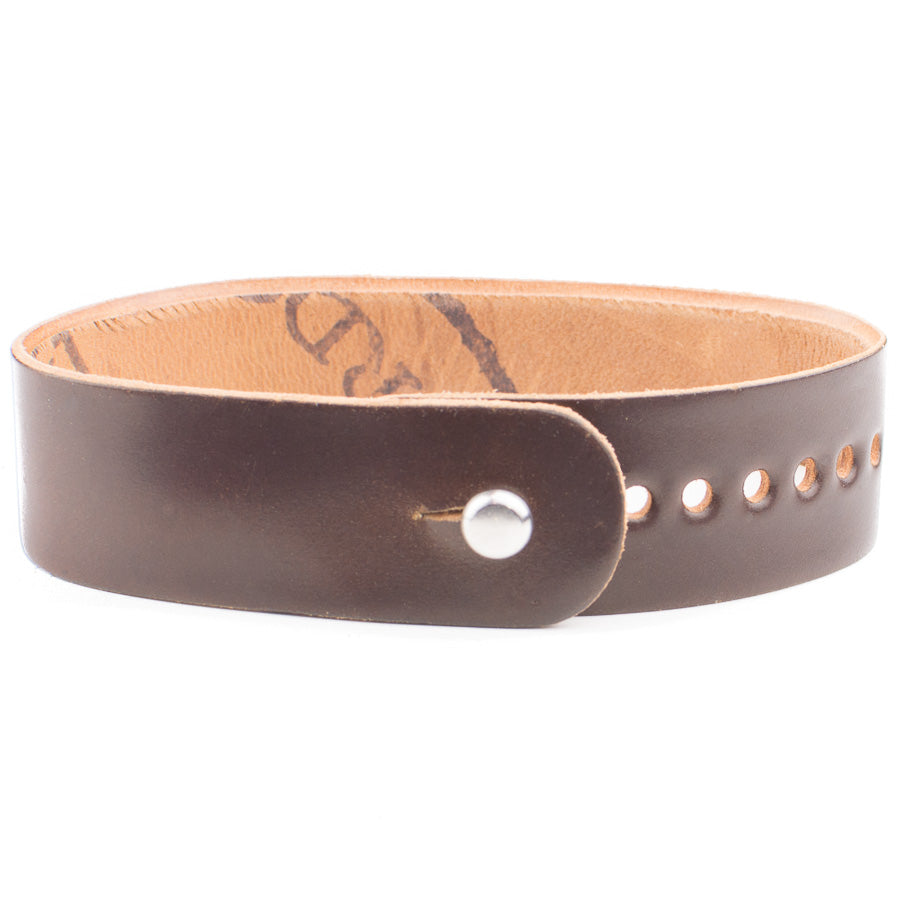
We took the design of The Original Cordovan Button-Stud Watchband, and added the ability to adjust the band to fit your wrist or preferred wear style, while maintaining the comfort, simplicity, and innovative design of the original.
Offered here in Horween's absolute top-shelf leather, Shell Cordovan. Chromexcel & Veg Tan leather options also available.
"Why do some of the colors look different between the band and the swatch??" There can be a good bit of variation between particular pieces of cordovan (true for ALL full grain leather)--also, depending on the viewing angle, the color can change a good bit--cordovan is a particularly dynamic color tannage of leather.
Engraving & Monogramming
Engraving & Monogramming
In general, we are subtle with our personalized engravings & monograms. Smaller products receive smaller monograms, and any personalized messages are hidden where the owner can see them but they are not 'out in the open' whenever possible. If you have specific preferences for any customized engravings, make a note in the special instructions section after selecting your options and we'll contact you to verify after your order.
Product Dimensions
Product Dimensions
Band width as selected. Standard length bands will fit most watches on most wrists up to 8". If you find you need a longer or shorter band, let us know and we'll gladly get you a replacement.
Product Launch & Revision History
Product Launch & Revision History
Original Release: October 2012
What Kind of Leather Does FFF Use? What's this Chromexcel/Veg Tan/HF stuff instead of just leather color? Where are your products made?
What Kind of Leather Does FFF Use? What's this Chromexcel/Veg Tan/HF stuff instead of just leather color? Where are your products made?
We make everything by hand in Orlando.
As to the leathers we use: The super short answer is Horween Leathers in Chicago, and because we're leather geeks we want you to know exactly what you're getting--it's so much more than just the color of the leather.
You can find more info HERE about how we do things.
You can super-geek about the various leather types/tannages we use in our different products HERE.
Share


This is my second fff stud band - the first one broke after years of sweaty abuse in the Army - I expect this second one will last much longer now that I’m a civilian. Great band
I have two other FFF bands in the "regular" leather and the Cordovan is on a whole other level. It doesn't stretch nearly as much as the regular leather and as such is much more convenient / comfortable to wear right from day one (where the original leather has a few days of stretching/adjusting you need to do).
It also looks much nicer in my opinion, but it doesn't have as "rustic" of a look as the regular leather since that stretches so much.
Also because the leather is stiffer, the button doesn't move around as much and tends to stay on better for me.
FFF Button-Stud Watchband (Adjustable Cordovan)
This watch band is exactly what my wrist needed to be in his full glory. Thanks FFF!
I purchased a Chromexcel band a couple years ago and loved it so much that I decided I needed a cordovan band to go with my dressier attire. The Color 8 band is just as comfortable! It's surface is a little shiny, which matches the pizzazz of fancy clothes. The band was engraved with a custom monogram and it turned out crisp and beautiful - a highly recommended customization. I also use it with a 19mm RoadID as well and it fits perfectly! If you're looking for an understated way to step up your dress watch game, this FFF cordovan watch band is it!